DIY Red Velvet Cake Balls
At Starbucks, these treats are $1.50 a pop. I can only longingly gaze at them through the glass. But these irresistibly delightful sweets are surprisingly simple to make on your own and are perfect for gifts both for friends and professors alike. Here’s a step-by-step guide, complete with commentary, to assembling your own tantalizing gourmet cake balls on a budget.
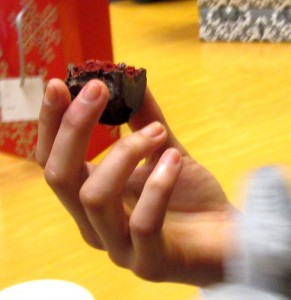
Ingredients
-1 package red velvet cake mix
-3 eggs
-1/3 cup oil
-1 cup water
-1 container cream cheese frosting
-chocolate for dipping
-sprinkles for decorating
Directions
1. Bake the cake as directed in a 9×13 pan at 350 degrees. This involves mixing the cake mix, eggs, oil, and water together and then sticking it in the oven for around 25-30 minutes. When the edges of your cake have rescinded a little from the edge and the toothpick comes out clean, let your cake cool completely. Go study for Finals or something for a few hours so both you and the cake can get some work done.
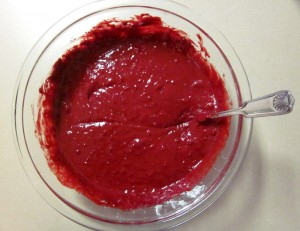
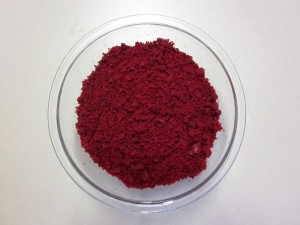
2. Smash your cake to pieces. I’m being serious, crush it with your bare hands ’til it’s crumbly and there is no more chunkiness, If you’d like to feel more sophisticated, you may use a fork to break up your cake, but throwing your cake is so much more satisfying. Also, you should smash it into a bowl, not into a wall or someone’s face. Just wanted to clarify.
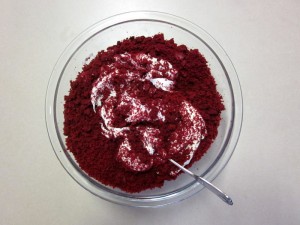
3. Scoop out around 3/4 of the can of cream cheese frosting and plop it into your crumbled red velvet cake. Mix it thoroughly. You know it’s the right consistency when your mixture just starts to glisten and cohere together. Try not to overdo the icing or else it will be too oily, but if you taste test and your mixture seems dry, liberally add more icing.
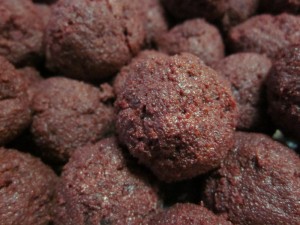
4. This is the messy hands-on portion of the instructions. Form balls, as big or small as you want, out of your mixture. If you’d like a specific measurement, I’d go for perhaps an inch or an inch-and-a-half. Cover with plastic and refrigerate for a few hours. If you’re impatient like me, just stick it in the freezer for ten minutes. You want to firm up the balls, but make sure not to freeze them.
5. Melt your chocolate. This is a tricky thing if you’ve never done it before. Take some chocolate, break it into a bowl, and microwave for 20 seconds. Stir it around, and then continue to microwave and stir at 10-second intervals until melted. Now, if the melted chocolate seems too thick or you’ve overdone it and it’s kind of burned, you can remedy your situation with some oil. Toss some oil into your mixture, stir, and voila, your problem has vanished.
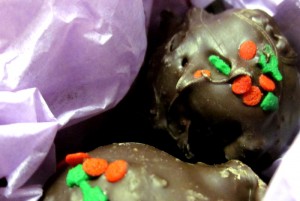
6. Dip your cake balls into the chocolate. I like to dunk mine, toss it around with a spoon so it can have a little fun splashing around in the chocolate pool and become well-coated, and then lift it out onto a cookie sheet that has been lined with wax paper. Before the chocolate has cooled off, sprinkle liberally. Sprinkles make life better.

7. Refrigerate your cake balls until you’re ready to package them up or until your sweet tooth calls.
Oh wait, did you hear that? Mine just gave me a ring. Toodles for now!